May 14, 2025
How We Built the GitHub Skyline CLI Extension Using GitHub
How We Built the GitHub Skyline CLI Extension Using GitHub
Do you ever think, Wow, GitHub Skyline looks great, but I wish I could use it from my terminal? This project began with that exact concept.
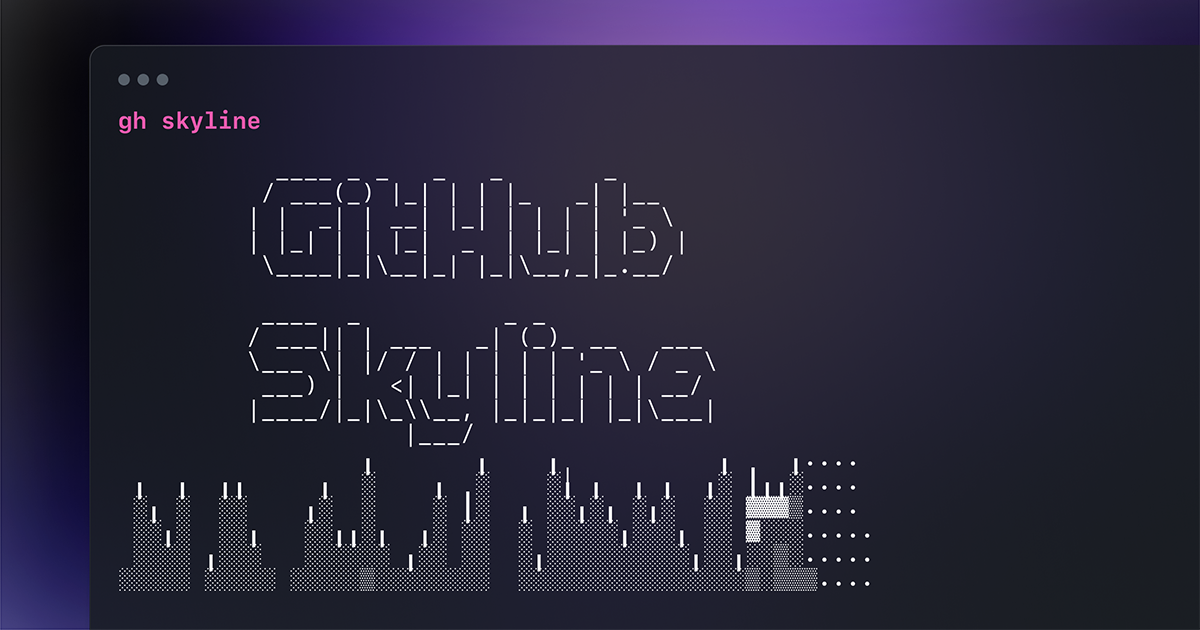
GitHub Skyline is a great method to see contributions in 3D, however visiting a website to view your coding numbers is not convenient. We decided to bring Skyline to the command line. And guess what? We created a CLI extension for that.
I will show you how we developed it utilizing GitHub's advanced tools, APIs, and code in the article below. You will know how to develop and publish a GitHub CLI extension by the end.
Grab a coffee and let's begin!
Understanding GitHub Skyline
Before starting the programming, let's define GitHub Skyline. It is an amazing 3D visualization of your GitHub contributions this year. It converts your commit history into a digital skyline, making your work appear artistic. Pretty nice, huh?
However, there's a hitch: To access Skyline, open a browser, input a URL, and navigate. Isn't it great if we could fetch and see this data from the terminal? That sparked our CLI extension concept.
A program that lets users fetch Skyline statistics instantaneously without leaving the command line was our goal.
Setting Up the Development Environment
After knowing what we are doing, let's configure our development environment. Building a GitHub CLI extension requires a few things:
- Integration with GitHub involves using the CLI.
- Node.js and npm (our programming basis)
- TypeScript, who does not adore type safety?
- Use GitHub API to get user info.
Install Node.js from nodejs.org. After that, we may start our project:
mkdir github-skyline-cli
cd github-skyline-cli
npm init -y
npm install @octokit/rest commander inquirer chalk
That installs everything we need to develop our CLI. Now for the fun part—talking to GitHub!
Interacting with the GitHub API
To get Skyline data, we'll use GitHub's API. Thankfully, GitHub has a great REST API for user contributions.
I will use Octokit to access the GitHub API. We authenticate and get contribution data:
import { Octokit } from "@octokit/rest";

const octokit = new Octokit({ auth: process.env.GITHUB_TOKEN });

async function getContributions(username: string) {
    const response = await octokit.request('GET /users/{username}/events', {
        username
    });
    return response.data;
}

getContributions("your-github-username").then(console.log);
Simple, right? A GitHub token authenticates us, and we request user events and record them. However, raw JSON is unappealing so let's create a CLI command to show it.
Implementing CLI Commands
Our CLI extension should be simple. Commander.js helps here. It defines commands easily.
let's generate a command to fetch and show a user's Skyline data:
import { Command } from "commander";

const program = new Command();

program
 .version("1.0.0")
 .description("GitHub Skyline CLI Extension")
  .command("fetch <username>")
  .action(async (username) => {
     console.log(`Fetching skyline data for ${username}...`);
      const data = await getContributions(username);
     console.log(data);
  });

program.parse(process.argv);
Now, if someone runs:
node index.js fetch your-github-usernameThe terminal will display their contributions!
But it don't just ends here, we can make this cooler.
Rendering Data in ASCII Art
Plain text data is boring. Would not a 3D Skyline using contribution data be more fun? Indeed, that is what we did.
Cli-table turns JSON data into an appealing ASCII table:
import Table from "cli-table";

function renderSkyline(data: any) {
    const table = new Table({ head: ["Day", "Commits"] });
   data.forEach((item: any) => table.push([item.day, item.commits]));
   console.log(table.toString());
}
Users may now get Skyline data in a nice, terminal-friendly format.
Packaging and Publishing the Extension
Now that our CLI extension works, let's share it! We must first configure our package.json file correctly:
{
  "name": "github-skyline-cli",
  "version": "1.0.0",
 "description": "View your GitHub Skyline in the terminal",
  "main": "index.js",
  "bin": {
   "skyline": "index.js"
  },
 "dependencies": {
   "@octokit/rest": "^18.0.0",
   "commander": "^7.0.0",
   "cli-table": "^0.3.1"
  }
}
Once that’s ready, publishing the extension is as easy as:
npm login
npm publish
Viola! Our CLI extension is now available for developers to install and use.
Conclusion
This is how we made the GitHub Skyline CLI extension! We covered everything from environment setup to GitHub API interaction, CLI commands, and output aesthetics.
We enjoyed learning about GitHub's APIs and how to bring amazing web-based tools to the terminal with this project. Creating a CLI tool is addictive, so try it!
What is next? Create additional customization choices for this project, such as ASCII output color themes or JSON or CSV data export.
Do you have any cool enhancements? Let me know in the comments!
856 views
