June 04, 2025
Building a Yield Farming DApp with Solidity and React
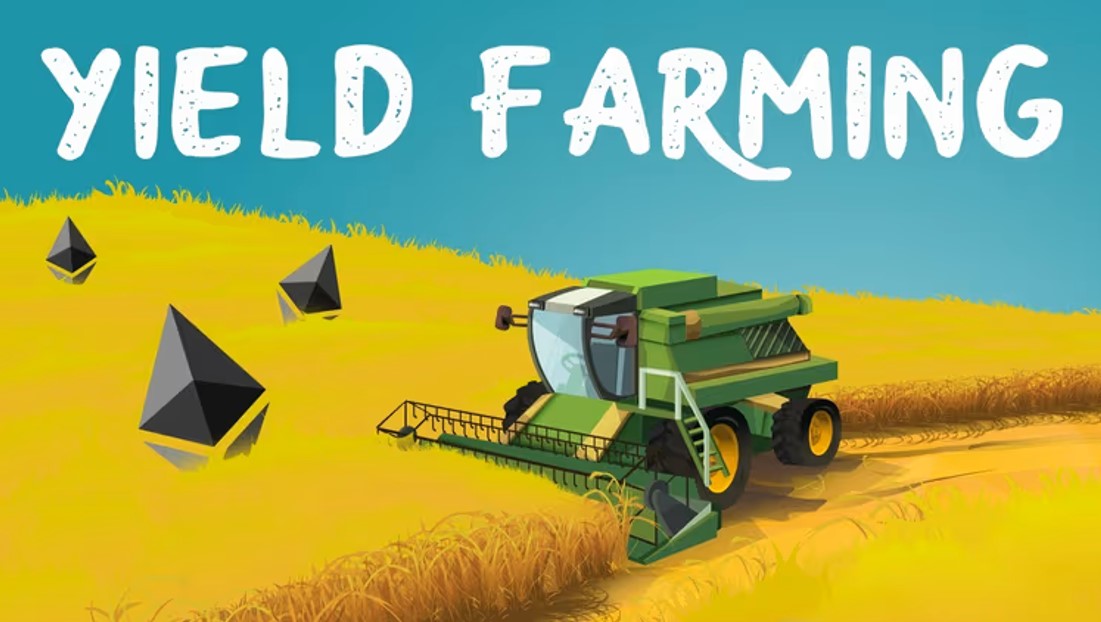
You will learn how DeFi systems enable users stake tokens and generate passive income. Yield farming is a popular concept in decentralized finance. I will show you how to develop a yield farming decentralized application (DApp) using Solidity for smart contracts and React for the front-end. The final result will be a simple DApp that lets users stake tokens and receive rewards. Jump in!
Understanding Yield Farming
Let's define yield farming before diving into the coding. Users earn rewards by supplying liquidity to decentralized networks via yield farming. Staking tokens in a liquidity pool earns users the platform's native token over time. These benefits are usually depending on token stakes and pool lock duration.
Our smart contract automates staking and reward distribution for users.
Setting Up the Development Environment
First, set up our development environment. Following along requires Node.js for the backend (React). You will need Truffle or Hardhat to develop and test Solidity contracts. If you are unfamiliar to these tools, I will explain each step.
Start by creating and initializing a project directory. To build up your React app and smart contract environment, execute these tasks in this folder:
npx create-react-app yield-farming-dapp
cd yield-farming-dapp
npm install web3 ethers
Testing things will need a local blockchain. Ganache emulates Ethereum on your PC, making it perfect. MetaMask, an Ethereum browser extension wallet, is required.
Creating the Smart Contract with Solidity
Now, let's develop our Solidity smart contract. Users may stake tokens, receive rewards, and withdraw them using this contract. Our contract will provide stake(), unstake(), and a means to compute rewards depending on token stake time.
Here's a basic example of what the contract might look like:
pragma solidity ^0.8.0;

contract YieldFarming {
    mapping(address => uint256) public stakedBalance;
    mapping(address => uint256) public lastStakeTime;
    uint256 public rewardRate = 100; // reward per block

    function stake(uint256 _amount) external {
        stakedBalance[msg.sender] += _amount;
        lastStakeTime[msg.sender] = block.timestamp;
    }

    function unstake(uint256 _amount) external {
        require(stakedBalance[msg.sender] >= _amount, "Not enough staked");
        stakedBalance[msg.sender] -= _amount;
        uint256 reward = calculateReward(msg.sender);
        payable(msg.sender).transfer(reward);
    }

    function calculateReward(address user) public view returns (uint256) {
        uint256 timeStaked = block.timestamp - lastStakeTime[user];
        return stakedBalance[user] * rewardRate * timeStaked / 1 days;
    }
}
This contract has basic staking and reward functions. The reward depends on the staked amount and period.
Frontend with React
Once our smart contract is ready, we use React frontend. React will manage the contract interface and user interaction. Web3.js or ethers.js will interface with the blockchain and conduct token staking and unstaking operations.
Create the appropriate React components for staking, unstaking, and rewards and balancing. Start with this simple guide:
- Install web3.js or ethers.js in your React project by running:
npm install web3 ethers- Set up the App.js file to include basic interaction with the smart contract.
Here's a simplified example of connecting your React app to the smart contract:
import React, { useEffect, useState } from 'react';
import Web3 from 'web3';

const App = () => {
  const [web3, setWeb3] = useState(null);
  const [account, setAccount] = useState('');
  const [contract, setContract] = useState(null);

  useEffect(() => {
    const init = async () => {
      const web3Instance = new Web3(window.ethereum);
      const accounts = await web3Instance.eth.requestAccounts();
      const contractInstance = new web3Instance.eth.Contract(contractABI, contractAddress);
      setWeb3(web3Instance);
      setAccount(accounts[0]);
      setContract(contractInstance);
    };

    init();
  }, []);

  const stakeTokens = async (amount) => {
    await contract.methods.stake(amount).send({ from: account });
  };

  return (
    <div>
      <h1>Yield Farming DApp</h1>
      <button onClick={() => stakeTokens(10)}>Stake 10 Tokens</button>
    </div>
  );
};

export default App;
This code connects to MetaMask and the smart contract to stake tokens.
Connecting Smart Contract to the Frontend
After setting up React, link the smart contract to the frontend. We will connect with Ethereum using web3.js or ethers.js. The front end will show the user's staked balance, prizes, and staking and unstaking buttons.
Here's how you can use web3 to stake tokens and display the user's balance:
const fetchBalance = async () => {
  const balance = await contract.methods.stakedBalance(account).call();
  setBalance(balance);
};
Testing and Deployment
You must test your DApp locally using Ganache before deploying it to the mainnet. After verifying everything, deploy your smart contract to Rinkeby or Goerli and your React app to Netlify or Vercel.
Conclusion
This tutorial builds a basic Yield Farming DApp from scratch using Solidity for the smart contract and React for the front end. You built up your setup, coded Solidity staking logic, and created a React user interface. You can now customize and upgrade your DApp with governance tokens, security improvements, and more. Harvest farming is only the start; with the correct tools, the possibilities are unlimited.
1.4k views
