January 31, 2025
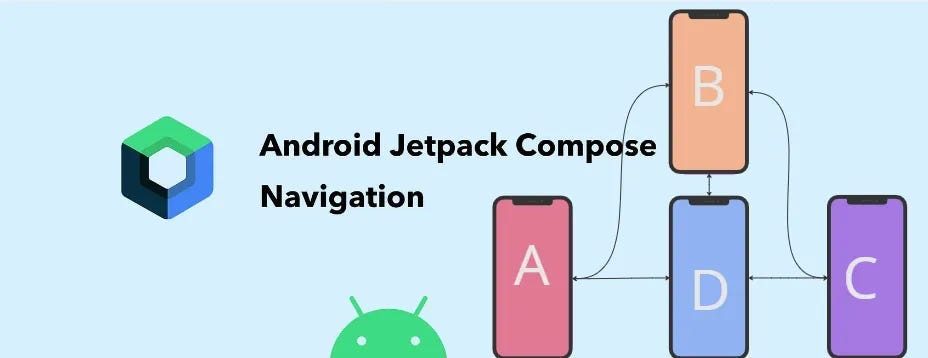
Jetpack Compose Navigation: Managing Multi-Screen Apps

How can Android apps manage multiple screens without difficult and error-prone navigation? Jetpack Compose simplifies screen navigation, helping developers build beautiful apps. This blog post explains how to utilize Jetpack Compose's navigation functionality for multi-screen applications.
What is NavController in Jetpack Compose?
Jetpack Compose uses NavController for navigating. It manages the app's navigation stack, making screen switching and state maintenance easy. Unlike prior methods, NavController simplified and declaratively managed fragments and activities.
NavHost builds screens and NavControllers push and pop them from the back stack in Jetpack Compose. Your app will have organized navigation.
Setting Up Navigation in Jetpack Compose
You must install Jetpack Compose navigation in your project before navigating. Include the relevant dependencies in your build.gradle file:
dependencies {
    implementation "androidx.navigation:navigation-compose:2.5.0"
}
After that, utilize NavController and NavHost to build your navigation structure. NavHost specifies the initial destination and various composable screens to navigate to. The setup is simple:
val navController = rememberNavController()

NavHost(navController, startDestination = "screen1") {
   composable("screen1") { Screen1(navController) }
   composable("screen2/{data}") { backStackEntry ->
        Screen2(data = backStackEntry.arguments?.getString("data") ?: "")
    }
}
In this structure, Screen2 receives an argument from Screen1.
Navigating Between Screens
After setting up the navigation framework, we can learn how to switch between screens. NavController's navigate() function lets you switch screens. From Screen1, you can transfer data to Screen2 like this:
Button(onClick = {
   navController.navigate("screen2/HelloJetpackCompose")
}) {
    Text("Go to Screen 2")
}
On Screen2, you can retrieve the passed data using the backStackEntry.arguments:
val data = backStackEntry.arguments?.getString("data") ?: ""
Text("Received: $data")
You can transmit and show dynamic data across screens while preserving a clean, reusable navigation structure.
Handling Up and Back Navigation
To provide an intuitive experience, Android applications must manage back navigation. When you hit the back button, Jetpack Compose's NavController.popBackStack() returns you to the previous screen.
Jetpack Compose's NavController.navigateUp() replicates the app bar's "up" button for up navigation. How to use it:
TopAppBar(
    title = { Text("Screen 1") },
    navigationIcon = {
       IconButton(onClick = { navController.navigateUp() }) {
           Icon(Icons.Default.ArrowBack, contentDescription = null)
        }
    }
)
This configuration ensures back navigation works, and you can tweak it for your app.
Conclusion
Build smooth, user-friendly Android applications with several screens by mastering Jetpack Compose navigation. You can use NavController and NavHost to construct a declarative navigation experience that manages data flow between screens and back-and-up navigation. To improve your app, try navigation transitions and deep linking.
Jetpack Compose's simple yet powerful capabilities let you concentrate on creating exceptional user experiences rather than handling navigation manually. Happy coding!
1.6k views