January 21, 2025
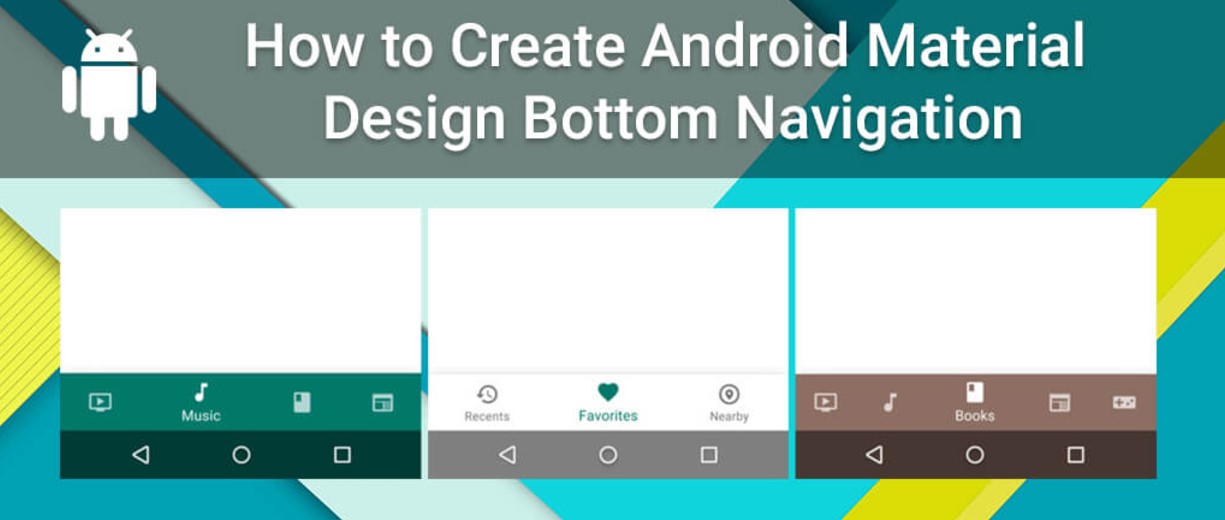
How to Implement Material Design Bottom Navigation Bar in Android?
Ever wondered how certain applications make feature navigation easy and attractive? Material Design Bottom Navigation Bars are typically the key. This blogpost will show you how to create a stylish and effective navigation bar for your Android app.
Prerequisites
Get these before starting:
- Set up Android Studio.
- Basic Kotlin/Java knowledge.
- An Android emulator or device for testing.
Please ensure your app's minSdkVersion supports Material Design (typically 21 or above).
Step-by-Step Implementation
Create a New Android Project
Create a new Android Studio project:
- Select Empty Activity during setup.
- Select Kotlin/Java as the language and name your project.
- Min SDK should be 21 or above.
Adding a bottom navigation bar is now possible.
Add Dependencies
Include this dependency in your app-level build.gradle file to utilize Material Design components:
implementation 'com.google.android.material:material:1.9.0' Download the libraries by syncing your project after adding the dependency.
Design the Bottom Navigation Layout
Now, arrange the bottom navigation bar. Add BottomNavigationView to activity_main.xml:
<com.google.android.material.bottomnavigation.BottomNavigationView
    android:id="@+id/bottom_navigation"
    android:layout_width="match_parent"
    android:layout_height="wrap_content"
    android:layout_alignParentBottom="true"
    app:menu="@menu/navigation_menu" />
Next, define the menu items in res/menu/navigation_menu.xml:
<menu xmlns:android="http://schemas.android.com/apk/res/android">
    <item
        android:id="@+id/home"
        android:title="Home"
        android:icon="@drawable/ic_home" />
    <item
        android:id="@+id/search"
        android:title="Search"
        android:icon="@drawable/ic_search" />
    <item
        android:id="@+id/profile"
        android:title="Profile"
        android:icon="@drawable/ic_profile" />
</menu>
Set Up Navigation Logic
Now, add navigation logic to MainActivity:
val bottomNavigation = findViewById<BottomNavigationView>(R.id.bottom_navigation)
bottomNavigation.setOnNavigationItemSelectedListener { item ->
    when (item.itemId) {
        R.id.home -> loadFragment(HomeFragment())
        R.id.search -> loadFragment(SearchFragment())
        R.id.profile -> loadFragment(ProfileFragment())
    }
    true
}

private fun loadFragment(fragment: Fragment) {
    supportFragmentManager.beginTransaction().replace(R.id.fragment_container, fragment).commit()
}
This smooths out navigation item selection fragment swapping.
Conclusion
So, you've successfully integrated Material Design Bottom Navigation Bar. This small tweaking can greatly enhance your app's navigation and user excitement.
Ready to level up? Use unique animations, icons, or dynamic theming to make your navigation bar stand out. You can also use Material Design to improve the navigation bar's color, shape, and look.
1.4k views
