January 30, 2025
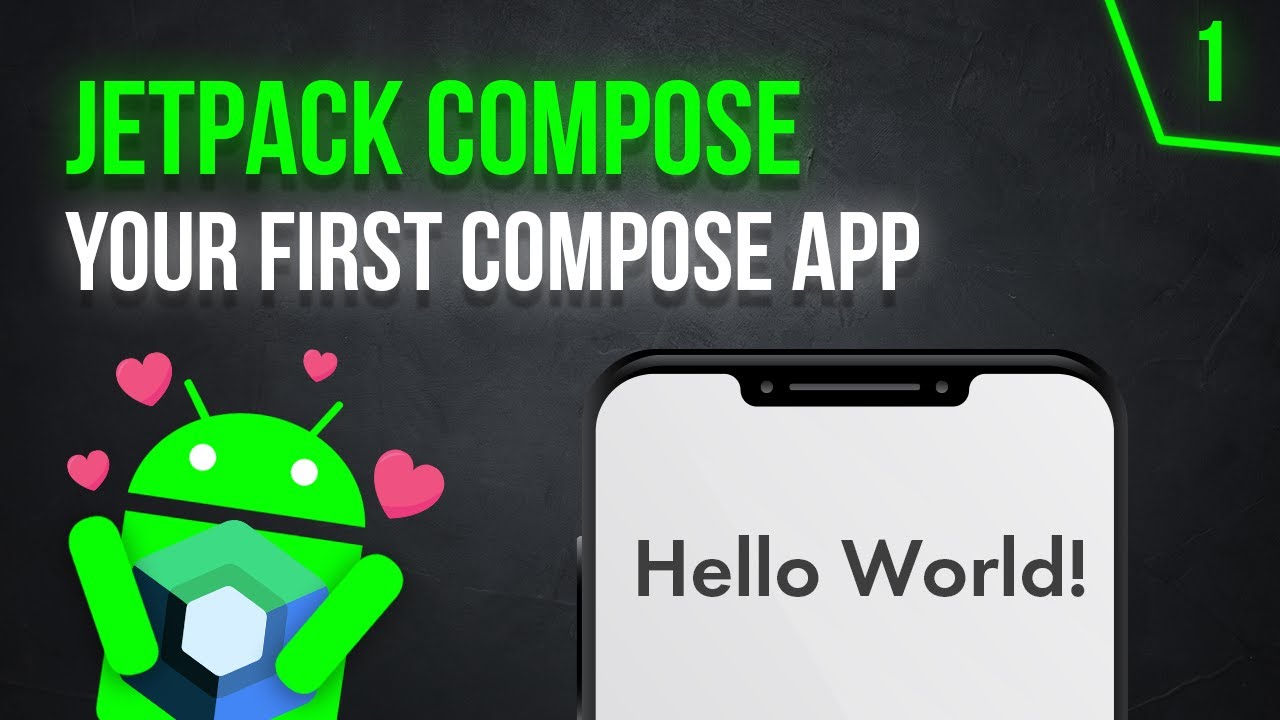
Building Your First Android App with Jetpack Compose

Wanted to build an Android app but found XML UI components overwhelming? Now Jetpack Compose can change that. This contemporary, intuitive declarative and adaptable UI toolkit makes Android development enjoyable and easy. This article will help you construct your first Android app with Jetpack Compose, demonstrating how easy contemporary app creation is.
Why Jetpack Compose?
Jetpack Compose is the way of the future for making Android UIs. Compose enables you write your UI in Kotlin, unlike XML layouts. Declarative Compose simplifies UI state management and dynamic, interactive development. Eliminating boilerplate code simplifies your project and lets you focus on functionality rather than UI.
Setting Up Your Android Project
You must create an Android project before coding. Open Android Studio, click "New Project," and pick "Empty Compose Activity" template. Your project is automatically configured for Jetpack Compose by this template.
After creating your project, incorporate Compose dependencies. View this in build.gradle. The build.gradle module should contain dependencies like:
implementation "androidx.compose.ui:ui:1.5.0"
implementation "androidx.compose.material:material:1.5.0"
implementation "androidx.compose.ui:ui-tooling-preview:1.5.0"
Now that your project is ready, you're all set to start building your app!
Creating Basic UI Elements with Jetpack Compose
Create some simple UI elements using Jetpack Compose. Display a basic text message first. Compose's Text() composable method does this:
@Composable
fun Greeting() {
 Text(text = "Hello, Jetpack Compose!")
}
Next, let's add a button. Compose lets you define interactive elements easily:
@Composable
fun ButtonExample() {
 Button(onClick = { /* Handle the click event */ }) {
 Text("Click Me!")
 }
}
The UI elements are specified directly in Kotlin code, making them simple to maintain and understand.
Adding Interactivity
Easy interaction is one of Jetpack Compose's best features. Now let's add functionality to our button. After clicking the button, we want the UI to change message. Here's how to do it:
@Composable
fun ButtonWithState() {
 var clicked by remember { mutableStateOf(false) }

 Button(onClick = { clicked = !clicked }) {
 Text(if (clicked) "You clicked me!" else "Click Me!")
 }
}
This example stores the button's clicked status in mutableStateOf. The UI updates automatically as the button's status changes.
Running Your First App
Run your program after creating the basic UI. Click Run in Android Studio and choose an emulator or device. Your welcoming message and button should appear when the app launches.
You can now change the UI, add components, and try other layouts. The greatest way to learn is to explore new ideas and see how Compose handles them!
Conclusion
Build Android UIs quicker, simpler, and more fun with Jetpack Compose. You can make gorgeous, interactive applications with a few lines of code. There is more to learn about custom layouts, animations, and advanced UI states than this tutorial covers. You are off to a good start, so you are ready to explore Jetpack Compose.
1.2k views