December 04, 2024
Create a Frontend with React and Connect it with a Java Backend
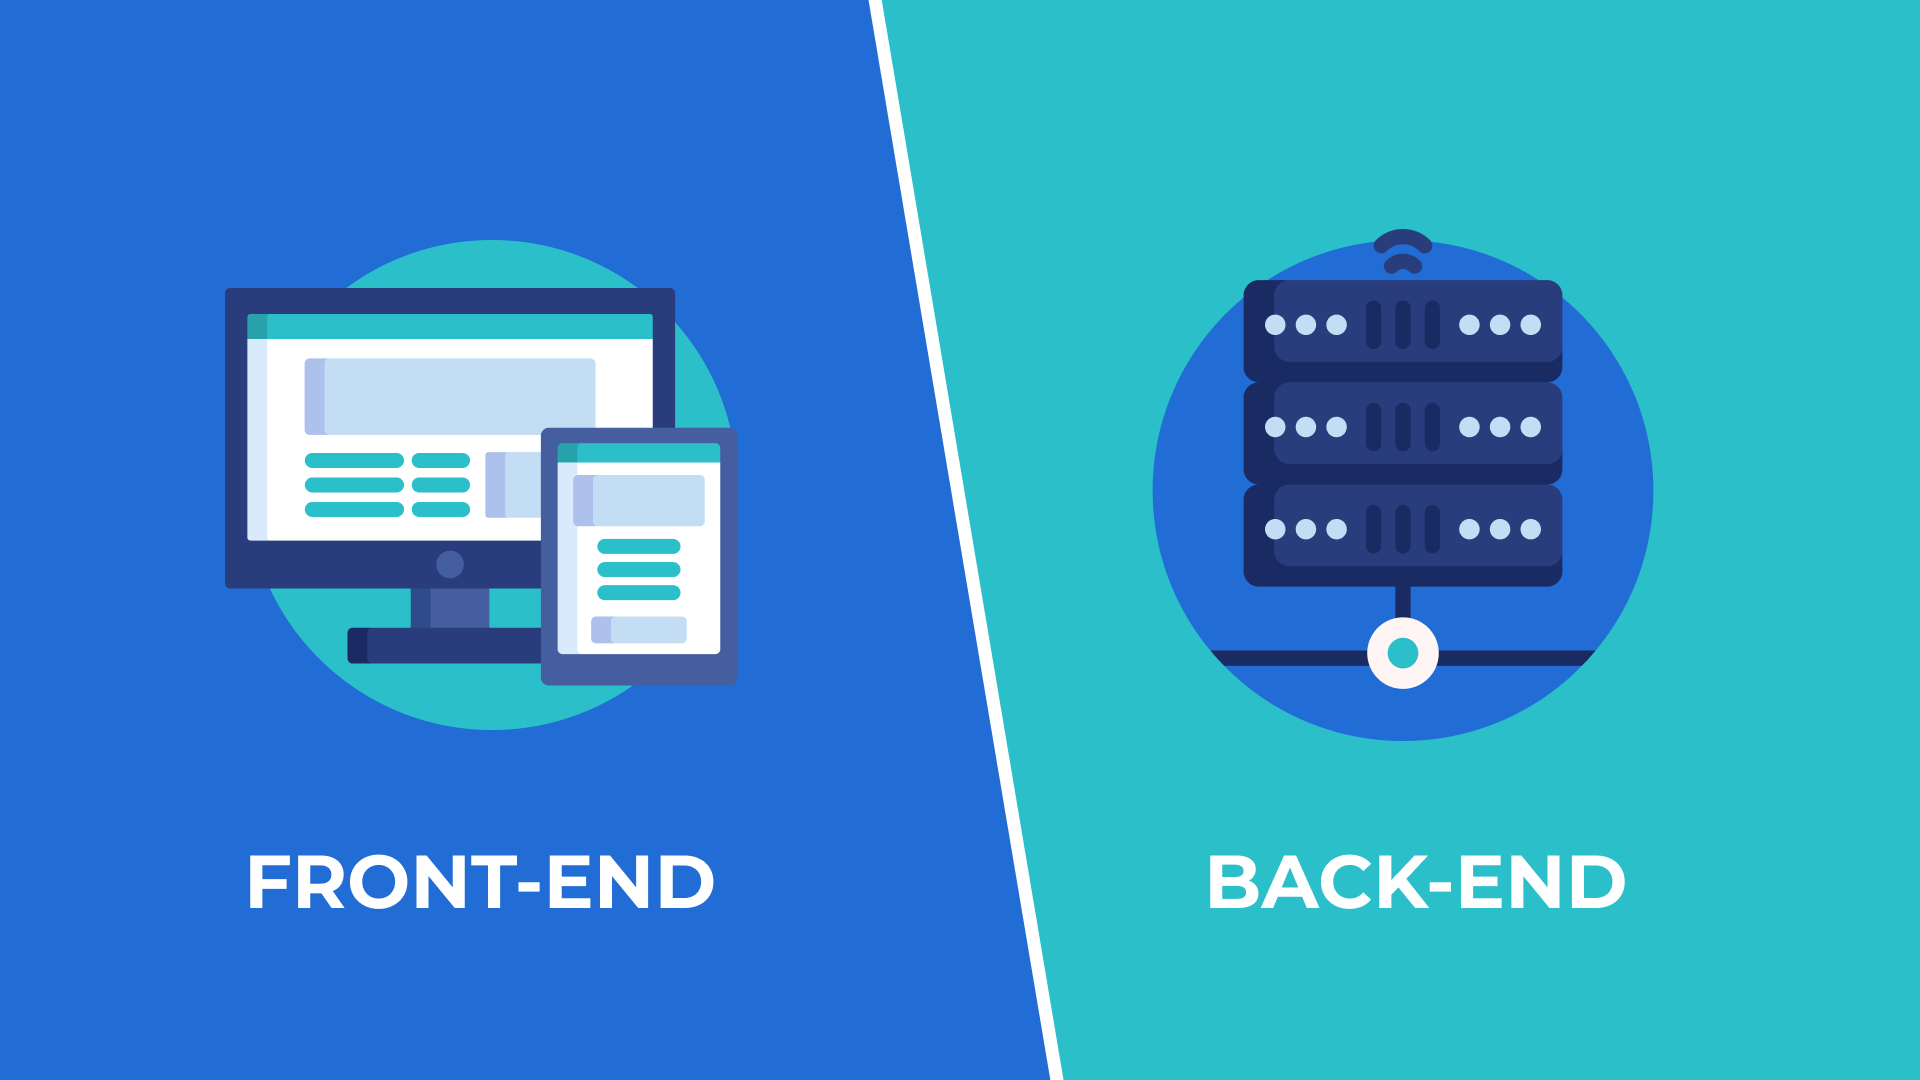
Did you ever thought how latest web applications interact with the backend for dynamic and smooth experiences? Its solution is connecting a React frontend to a Java backend to make your projects quick, responsive, and flexible.
That's why getting hands-on grip on frontend-backend communication of web apps is crucial. Today, in this blogpost, I'll help you in creating a React frontend, Java backend, and linking them to exchange data.
Setting Up the React Frontend
So, first of all I'll help you in setting up the React frontend. React is widely known for its component-based framework and reusable UI elements. Using this makes your app's frontend development more manageable.
- Install Node.js: You'll need Node.js installed on your system to manage React packages.
- Create React App: You can use the command below to quickly scaffold a React project:
npx create-react-app my-react-app
cd my-react-app
npm start
- Folder Structure: Now, familiarize yourself with the src/ folder, containing the main components of your React app.
- Create a Component: Finally, in the last stage, create a React component. Here's a sample code of a React button component that sends data to the backend when clicked:
import React from 'react';

function SendDataButton() {
  const sendData = () => {
    console.log("Sending data to backend...");
  };

  return <button onClick={sendData}>Send Data</button>;
}

export default SendDataButton;
So, now you've successfully created your base-level React frontend to connect with Java backend.
Creating the Java Backend
Once your React frontend is ready, now it's time to step into creating Java backend. Because to handle data from the React app, you must have to build a Java backend. In this Spring Boot will help you. It is a popular Java framework to make your backend development easy by providing pre-configured tools for building REST APIs.
- Set up Spring Boot Project: Use Spring Initializr to generate a Spring Boot project with Maven/Gradle.
- Create a REST Controller: Add a controller to receive HTTP requests from the frontend:
@RestController
@RequestMapping("/api")
public class MyController {

    @PostMapping("/data")
    public ResponseEntity<String> receiveData(@RequestBody String data) {
        System.out.println("Received data: " + data);
        return ResponseEntity.ok("Data received successfully");
    }
}
- Run the Backend: Use the command mvn spring-boot:run or your IDE (whatever IDE you want to work on) to start the Spring Boot server.
Now your backend is now ready to handle requests coming from the React app.
Connecting React with the Java Backend
After you've successfully created both the frontend and backend, now you can connect them with each other. React will send HTTP requests to the Java API to exchange data.
- Make API Calls from React: Use the fetch() method to call the backend API:
const sendData = async () => {
  const response = await fetch("http://localhost:8080/api/data", {
    method: "POST",
    headers: { "Content-Type": "application/json" },
    body: JSON.stringify({ message: "Hello from React" }),
  });

  const result = await response.text();
  console.log(result);
};
- Handle CORS Issues: Add a CORS configuration in your Spring Boot project to allow requests from the frontend:
@Configuration
public class CorsConfig {
    @Bean
    public WebMvcConfigurer corsConfigurer() {
        return new WebMvcConfigurer() {
            @Override
            public void addCorsMappings(CorsRegistry registry) {
               registry.addMapping("/api/**").allowedOrigins("http://localhost:3000");
            }
        };
    }
}
Testing and Deployment
Now comes the most important stage, the testing stage.
Test your setup using tools like Postman or the browser's developer tools to verify data is being transmitted in a right way. Test both the React frontend and Java backend and confirm they communicate without issues.
When you're ready to deploy:
- Frontend: You can use Netlify or Vercel to host your React app.
- Backend: Use Heroku, AWS, or Google Cloud to deploy the Java backend.
- Use environment variables to handle API URLs dynamically for production environments.
Conclusion
So, you've built a React frontend, Java backend, and exchanged data by following above mentioned simple steps. This setup supports advanced and dynamic apps. Moreover, I'll suggest you to further experiment with project, try authentication, databases, and error handling to polish your skills.
1.1k views
