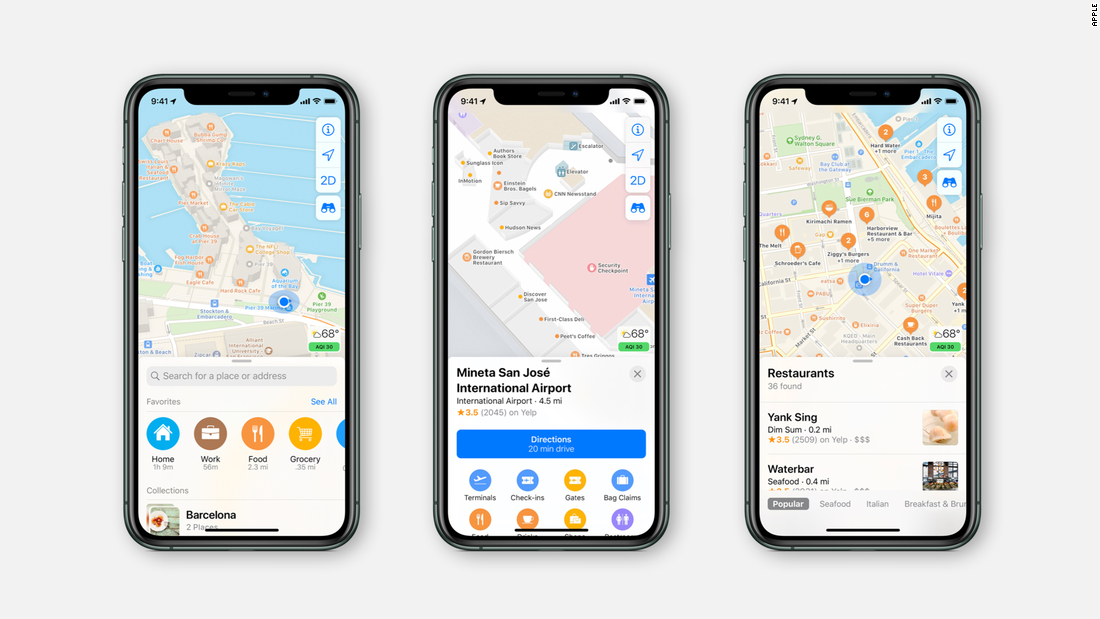
SwiftUI, Apple's modern UI framework, offers a declarative syntax for building user interfaces across all Apple platforms. One of the powerful features available to developers is the ability to integrate Apple Maps into SwiftUI applications. Whether you're building a navigation app, showcasing local points of interest, or providing custom map overlays, integrating Apple Maps can enhance the functionality and user experience of your app.
In this blog post, we'll explore how to seamlessly integrate Apple Maps into your SwiftUI project, covering the basics of displaying a map, adding annotations, and customizing the map view.
Setting Up Your Project
Before diving into code, ensure your Xcode project is set up correctly:
- Import MapKit: Ensure you have imported the MapKit framework, which provides the necessary tools for working with maps.
- Permissions: Update your Info.plist file to include the necessary permissions for location services. Add the following keys:
- NSLocationWhenInUseUsageDescription: Description of why your app needs access to the user's location.
Displaying a Basic Map
Start by displaying a basic map in your SwiftUI view. SwiftUI provides a Map view that you can use directly.
import SwiftUI
import MapKit

struct ContentView: View {
    @State private var region = MKCoordinateRegion(
        center: CLLocationCoordinate2D(latitude: 37.7749, longitude: -122.4194),
        span: MKCoordinateSpan(latitudeDelta: 0.05, longitudeDelta: 0.05)
    )

    var body: some View {
        Map(coordinateRegion: $region)
            .edgesIgnoringSafeArea(.all)
    }
}
In this example, a map centered on San Francisco is displayed. The MKCoordinateRegion defines the center and zoom level of the map.
Adding Annotations
Annotations are a great way to highlight points of interest on the map. You can add annotations using MapAnnotation.
import SwiftUI
import MapKit

struct ContentView: View {
    @State private var region = MKCoordinateRegion(
        center: CLLocationCoordinate2D(latitude: 37.7749, longitude: -122.4194),
        span: MKCoordinateSpan(latitudeDelta: 0.05, longitudeDelta: 0.05)
    )

    let landmarks = [
        Landmark(name: "Golden Gate Bridge", coordinate: CLLocationCoordinate2D(latitude: 37.8199, longitude: -122.4783)),
        Landmark(name: "Alcatraz Island", coordinate: CLLocationCoordinate2D(latitude: 37.8267, longitude: -122.4230))
    ]

    var body: some View {
        Map(coordinateRegion: $region, annotationItems: landmarks) { landmark in
            MapMarker(coordinate: landmark.coordinate, tint: .red)
        }
        .edgesIgnoringSafeArea(.all)
    }
}

struct Landmark: Identifiable {
    let id = UUID()
    let name: String
    let coordinate: CLLocationCoordinate2D
}
In this code, we define a Landmark struct and create an array of landmarks. The Map view is configured to show markers at these locations.
Customizing Annotations
For more control over annotation appearance, use MapAnnotation to create custom views.
import SwiftUI
import MapKit

struct ContentView: View {
    @State private var region = MKCoordinateRegion(
        center: CLLocationCoordinate2D(latitude: 37.7749, longitude: -122.4194),
        span: MKCoordinateSpan(latitudeDelta: 0.05, longitudeDelta: 0.05)
    )

    let landmarks = [
        Landmark(name: "Golden Gate Bridge", coordinate: CLLocationCoordinate2D(latitude: 37.8199, longitude: -122.4783)),
        Landmark(name: "Alcatraz Island", coordinate: CLLocationCoordinate2D(latitude: 37.8267, longitude: -122.4230))
    ]

    var body: some View {
        Map(coordinateRegion: $region, annotationItems: landmarks) { landmark in
            MapAnnotation(coordinate: landmark.coordinate) {
                VStack {
                    Image(systemName: "star.circle.fill")
                        .foregroundColor(.yellow)
                        .font(.largeTitle)
                    Text(landmark.name)
                        .font(.caption)
                        .padding(5)
                        .background(Color.white)
                        .cornerRadius(10)
                }
            }
        }
        .edgesIgnoringSafeArea(.all)
    }
}
Here, the MapAnnotation view allows you to create a custom annotation view. In this example, each annotation includes a star icon and the landmark's name.
Responding to User Interaction
To handle user interactions with the map, such as tapping on an annotation, use SwiftUI gestures and state management.
import SwiftUI
import MapKit

struct ContentView: View {
    @State private var region = MKCoordinateRegion(
        center: CLLocationCoordinate2D(latitude: 37.7749, longitude: -122.4194),
        span: MKCoordinateSpan(latitudeDelta: 0.05, longitudeDelta: 0.05)
    )

    let landmarks = [
        Landmark(name: "Golden Gate Bridge", coordinate: CLLocationCoordinate2D(latitude: 37.8199, longitude: -122.4783)),
        Landmark(name: "Alcatraz Island", coordinate: CLLocationCoordinate2D(latitude: 37.8267, longitude: -122.4230))
    ]

    @State private var selectedLandmark: Landmark?

    var body: some View {
        Map(coordinateRegion: $region, annotationItems: landmarks) { landmark in
            MapAnnotation(coordinate: landmark.coordinate) {
                VStack {
                    Image(systemName: "star.circle.fill")
                        .foregroundColor(.yellow)
                        .font(.largeTitle)
                    Text(landmark.name)
                        .font(.caption)
                        .padding(5)
                        .background(Color.white)
                        .cornerRadius(10)
                }
                .onTapGesture {
                    selectedLandmark = landmark
                }
            }
        }
        .edgesIgnoringSafeArea(.all)
        .alert(item: $selectedLandmark) { landmark in
            Alert(title: Text(landmark.name), message: Text("You selected \(landmark.name)"), dismissButton: .default(Text("OK")))
        }
    }
}
This example shows how to handle tap gestures on annotations and display an alert with information about the selected landmark.
Conclusion
Integrating Apple Maps into your SwiftUI app can significantly enhance its capabilities, providing rich, interactive maps for various use cases. By following this guide, you can display maps, add and customize annotations, and respond to user interactions, creating a dynamic and engaging user experience.
Remember to experiment with different map types, overlays, and other MapKit features to fully leverage the power of Apple Maps in your SwiftUI applications.
1.3k views
