May 28, 2025
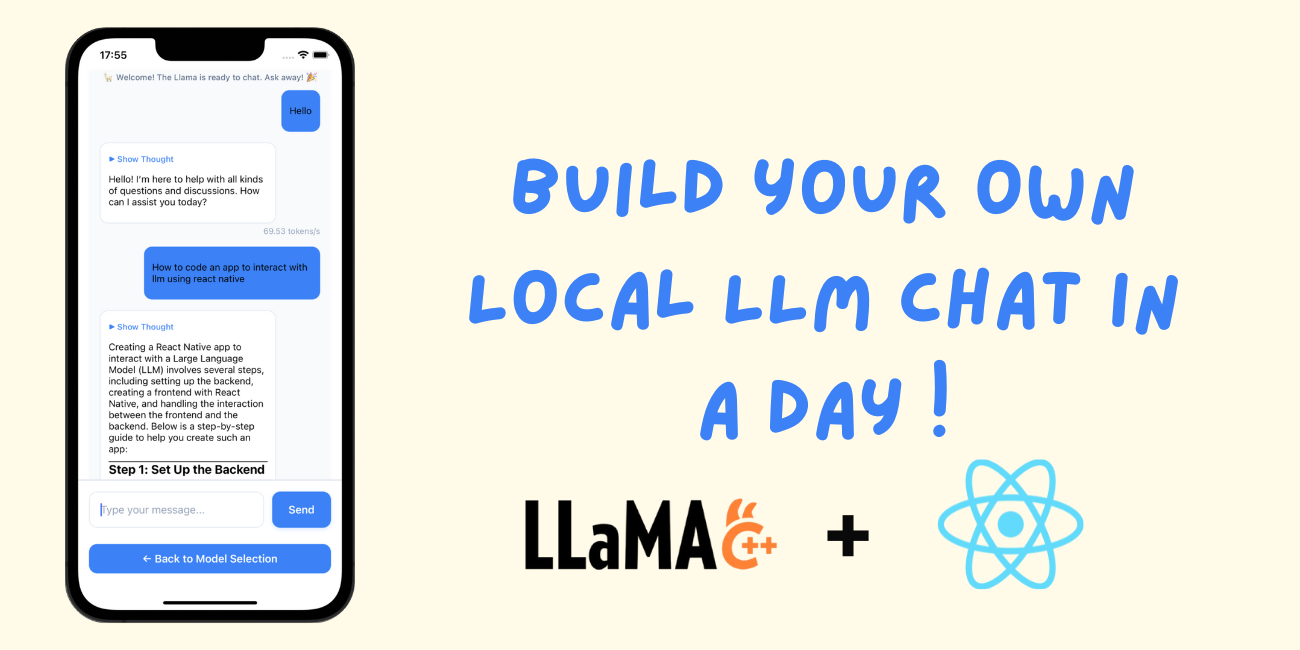
LLM Inference on Edge: A Fun and Easy Guide to Running LLMs via React Native on Your Phone!

LLM Inference on Edge: A Fun and Easy Guide to Running LLMs via React Native on Your Phone!
Have you wondered whether your phone could run an AI model locally without cloud servers or not? Imagine communicating with a confidential, swift AI assistant that doesn't share your personal data. Cool, right?
Supercomputers are no longer needed for it. Small yet strong LLMs (Large Language Models) with React Native can help you develop an AI-powered mobile app.
I will help you develop a phone AI chatbot app in this article. Installing React Native, downloading an LLM, and making it communicate will be easy. Ready? Let's do it !
Setting Up Your Development Environment
Let's set up our tools before coding. If creating for Android or iOS, you will require Node.js, React Native CLI, and Android Studio or Xcode.
Install React Native CLI and start your project:
npm install -g react-native-cli
npx react-native init EdgeLLMApp
cd EdgeLLMApp
npm install
Mac users require Xcode for iOS programming. Android Studio is ideal for Windows/Linux. Run an emulator:
npm run android  # for Android
npm run ios  # for iOS (Mac only)
Hurray, our project is live!
Choosing the Right LLM for Your Phone
Not all LLMs are mobile-friendly. Some are too heavy and sluggish, but a few work nicely!
Smaller models (1B-3B parameters) work well for mobile AI applications. Some top choices include:
- SmolLM2-1.7B: Compact yet powerful
- Qwen2-0.5B: Efficient and lightweight
- DeepSeek-R1-Distill-Qwen-1.5B: Great for on-device chatbots
In GGUF format, these models run more efficiently on mobile. We will have one from Hugging Face shortly!
Creating the React Native App
Time to turn our project into something helpful. Open App.tsx. This is where your React Native app's brain is.
Remove everything inside to start over and replace the following:
import React from 'react';
import { SafeAreaView, Text } from 'react-native';

const App = () => {
  return (
   <SafeAreaView>
     <Text>Hello, AI World!</Text>
   </SafeAreaView>
  );
};

export default App;
Run the application again, and you have nearly developed your first AI-powered mobile app! How cool!
Fetching and Downloading LLMs from Hugging Face
Now we need an AI model in our app. Get it from Hugging Face, download it, and store it.
First, install some helpful packages:
npm install axios react-native-fs llama.rn
Now, get Hugging Face's GGUF models:
const fetchGGUFModels = async (modelName: string) => {
  const response = await axios.get(`https://huggingface.co/api/${modelName}/files`);
  return response.data.filter((file) => file.endsWith('.gguf'));
};
To download the model, we’ll use react-native-fs:
const downloadModel = async (modelUrl: string, destPath: string) => {
  await RNFS.downloadFile({ fromUrl: modelUrl, toFile: destPath }).promise;
};
This lets us pick a model and download it to our mobile devices.
Loading and Running the Model
We'll use llama.rn to load the model into our app after downloading it.
const loadModel = async (filePath: string) => {
  const model = await initLlama({ modelPath: filePath });
  return model;
};
To test if everything is working, add this line:
const model = await loadModel("/path/to/model.gguf");
console.log("Model Loaded:", model);
Congrats on seeing "Model Loaded" in your console! Your AI is working now!
Building the Chat UI
Make this app interactive. We will create a model-chat interface.
Inside App.tsx, add some state management:
const [messages, setMessages] = useState([]);
Next, display messages inside a ScrollView:
<ScrollView>
  {messages.map((msg, index) => (
    <Text key={index}>{msg.content}</Text>
  ))}
</ScrollView>
Let’s also add a text input and a send button:
<TextInput value={inputText} onChangeText={setInputText} placeholder="Ask something..." />
<Button title="Send" onPress={handleSendMessage} />
Finally, ensure our AI reacts to messages:
const handleSendMessage = async () => {
  const response = await model.completion({ prompt: inputText });
 setMessages([...messages, { content: response }]);
};
Run the application, send a message, and see how your AI responds!
Making It Better: Optimizations & Extra Features
Our chatbot works, so let's improve it. Here are s ome great upgrades:
- Auto-scrolling keep fresh messages visible.
- Streaming tokens for real-time answers.
- Offline model management aids smooth operations.
How to stream token-by-token responses:
const handleSendMessage = async () => {
  let response = "";
  await model.completion({ prompt: inputText }, (newToken) => {
    response += newToken;
   setMessages([...messages, { content: response }]);
  });
};
This makes AI feel more engaging!
Conclusion: You Just Built a Mobile AI Chatbot!
Congratulations for creating an AI chatbot that works on your phone without a cloud!
First, you installed React Native and prepared your development environment. After downloading a Hugging Face model, your device gained AI capabilities. Last, you created a chat UI for real-time model interaction.
You may tweak the design, add voice input, and integrate other AI models to improve functionality from here. Endless possibilities!
If you found this guide useful, develop an LLM-powered mobile app and share what you learned.
160 views