November 26, 2024
Creating a Dynamic Shopping Cart with JavaScript
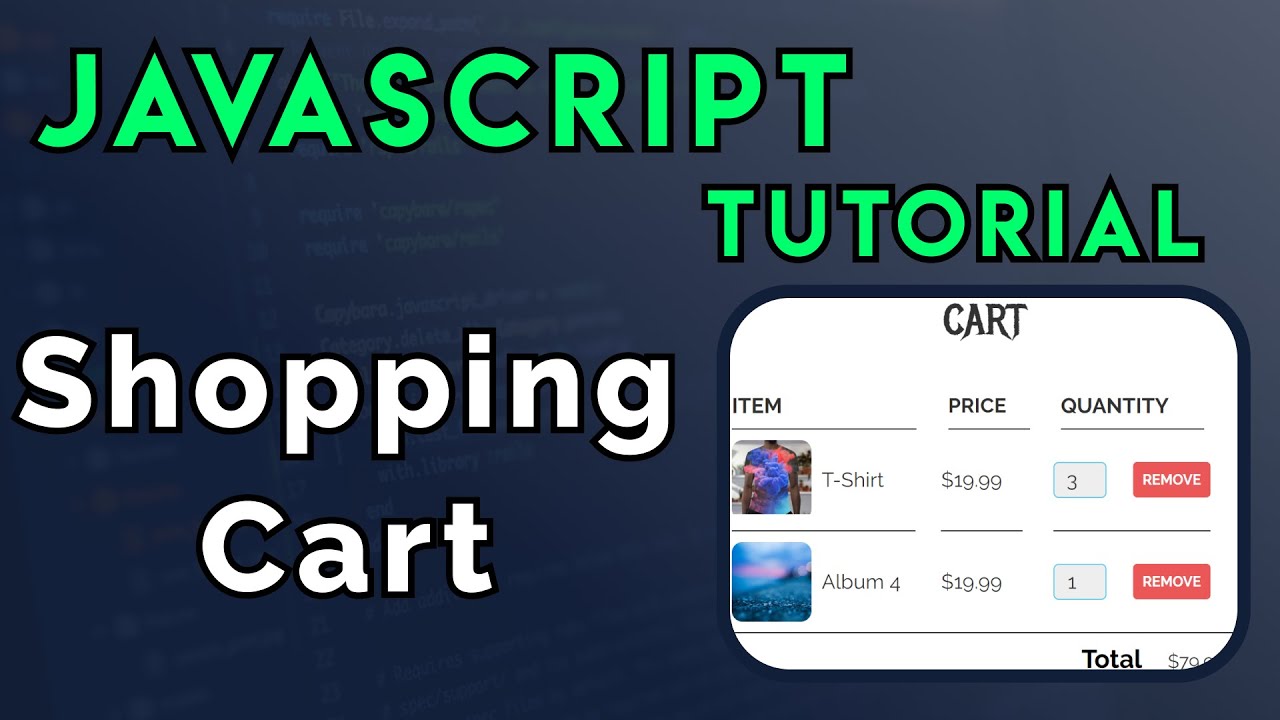
Do you know what makes your online shopping experience so seamless? It's the dynamic shopping cart that allows you to add, remove, and manage items effortlessly. Today in this blog post, I'll walk you through the step by step procedure to create a dynamic shopping cart using JavaScript. This will further enhance your web development skills and your understanding of e-commerce apps.
Why Build a Dynamic Shopping Cart?
As you know shopping cart is the core element of any e-commerce site, because without any cart there is no online store. It allows users to decide on shortlisted products before actually buying them. A perfectly made shopping cart will also increase your conversion rate.
So, are you ready to learn DOM manipulation, event handling and data management in JavaScript while creating this project.
Setting Up the Project
Before start developing, first you'll need the basic structure containing three main files:
- HTML (index.htm): This main file with hold the main structure of shopping cart, like buttons to add and remove items and a specific are to show the items in cart.
- CSS (style.css): This file helps to style the applications and make it appealing.
- JavaScript (script.js): And this file will contain all code to make shopping cart functional and in working state.
<!DOCTYPE html>
<html lang="en">
<head>
    <meta charset="UTF-8">
    <meta name="viewport" content="width=device-width, initial-scale=1.0">
    <link rel="stylesheet" href="style.css">
    <title>Dynamic Shopping Cart</title>
</head>
<body>
    <div id="item-list"></div>
    <div id="cart">
        <h2>Your Cart</h2>
        <div id="cart-items"></div>
        <p id="total-price">Total: $0</p>
    </div>
    <script src="script.js"></script>
</body>
</html>
Creating the Item List
After creating your app's basic layout, let's create an array of items. And each item will have properties like, name, price, and quantity.
const items = [
    { id: 1, name: 'Laptop', price: 999.99, quantity: 1 },
    { id: 2, name: 'Smartphone', price: 699.99, quantity: 1 },
    { id: 3, name: 'Headphones', price: 199.99, quantity: 1 },
];
Adding Items to the Cart
No it's time to make add to cart button functional:
let cart = [];

function addItem(item) {
    const existingItem = cart.find(cartItem => cartItem.id === item.id);
    if (existingItem) {
        existingItem.quantity += 1;
    } else {
        cart.push({ ...item });
    }
    updateCartDisplay();
}
So, this code will let your shopping cart to increase item number if it's already in the cart, and if it's not then item will be added in the cart.
Removing Items from the Cart
function removeItem(itemId) {
    cart = cart.filter(cartItem => cartItem.id !== itemId);
    updateCartDisplay();
}
Price Calculations
Here comes the most important function of a shopping cart. Total price calculator:
function calculateTotal() {
    return cart.reduce((total, item) => total + item.price * item.quantity, 0);
}

function updateCartDisplay() {
    const cartItemsDiv = document.getElementById('cart-items');
    cartItemsDiv.innerHTML = ''; // Clear existing items
    cart.forEach(item => {
        const itemDiv = document.createElement('div');
        itemDiv.textContent = `${item.name} - $${item.price} x ${item.quantity}`;
        cartItemsDiv.appendChild(itemDiv);
    });
    const totalPrice = calculateTotal();
    document.getElementById('total-price').textContent = `Total: $${totalPrice.toFixed(2)}`;
}
Conclusion
Building of a dynamic shopping cart is a great way to learn JavaScript and web development. Your skillset will enhance with understanding managing several items, user interactions, and dynamic pricing calculations. You can also add user authentication and payment processing to your shopping cart by doing further experiments with code.
720 views
