October 16, 2024
How to Build an Interactive Quiz with HTML and JavaScript
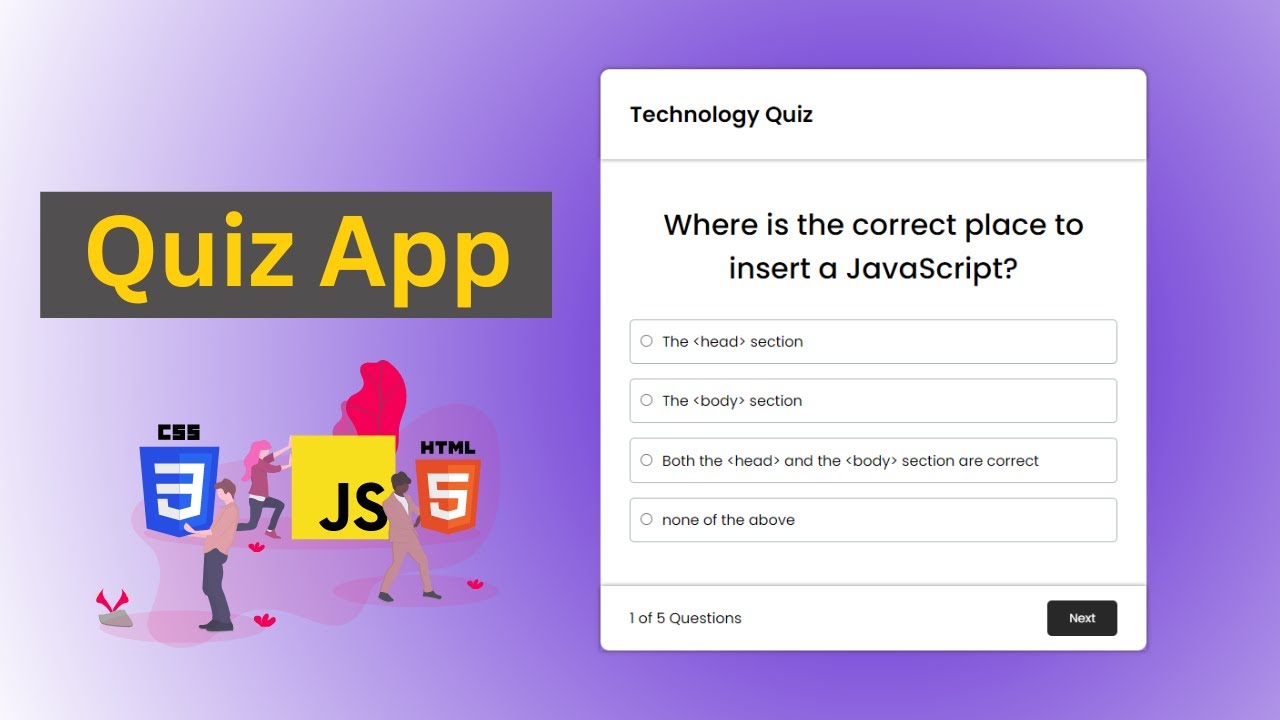
Do you want to make your website more engaging by adding some interactive and engaging content? The best way to do this is integrate an interactive quiz that will amuse and educate your audience along with leveling up your site's performance. No matter you are creating a quiz for taking learning purpose, fun purpose, or for taking feedbacks of people, an interactive quiz will work like a magic for your site.
That's why today, I'm here to guide you on creating a basic yet effective quiz using HTML and JavaScript. Let's get deep into it.
Setting Up the HTML Structure
Before going to JavaScript, we'll start from HTML first to build our quiz's basic structure. In this layout we'll make questions, answer options and a button to submit the quiz. HTML with its <div> tag makes it very easy to place all elements.
Here's a simple quiz layout for just 2 questions and 3 answer options:
<form id="quiz">
  <div>
    <h3>1. What is the capital of France?</h3>
    <input type="radio" name="q1" value="Paris"> Paris<br>
    <input type="radio" name="q1" value="London"> London<br>
    <input type="radio" name="q1" value="Rome"> Rome<br>
  </div>
  <div>
    <h3>2. What is 2 + 2?</h3>
    <input type="radio" name="q2" value="3"> 3<br>
    <input type="radio" name="q2" value="4"> 4<br>
    <input type="radio" name="q2" value="5"> 5<br>
  </div>
  <button type="button" onclick="checkAnswers()">Submit Quiz</button>
</form>
In this piece of code we use name attribute to group radio buttons for each question so that user just enter one answer for one question.
Adding JavaScript for Interactivity
You've set up the basic layout of your quiz, now its time to make it functional using JavaScript. In this quiz JavaScript will take users input, calculate the correct user answer and show the results.
function checkAnswers() {
  var score = 0;

  var q1 = document.querySelector('input[name="q1"]:checked').value;
  var q2 = document.querySelector('input[name="q2"]:checked').value;

  if (q1 === "Paris") {
    score++;
  }
  if (q2 === "4") {
    score++;
  }

  alert("You scored " + score + " out of 2!");
}
In this piece of code, we've used the attribute querySelector to get the responses of users, then this attribute will match the answers with the correct ones and will increment the score by one, if user chooses the right option. At the end the score will be shown using alert box.
Customizing and Enhancing the Quiz
After testing your quiz's performance, let's customize it to for giving an appealing and engaging look. Here are some the features below:
- Add a Timer: You can use JavaScript's setInterval function to add a countdown timer, this will enhance the look of quiz but also create a sense of urgency among users to submit it.
- Randomize Questions: Add a feature of shuffling the sequence of questions each time user refresh the webpage, to engage users.
- Track Progress: You can use session storage to save user's progress if he wants to continue later.
Moreover, you can make it responsive too using CSS, so that users with different screen sizes can fill it.
#quiz {
  max-width: 600px;
  margin: 0 auto;
}
button {
  background-color: #28a745;
  color: white;
  padding: 10px;
  border: none;
  cursor: pointer;
}
Conclusion
An HTML and JavaScript interactive quiz is an ideal way to engage users while retaining everything simple. Create a responsive, functioning quiz that validates answers and delivers quick feedback with a few lines of code. Quizzes could liven up any website for fun, education, or engagement. Try timings and animations too, to make your quiz more engaging!
2.1k views
