July 16, 2024
Revolutionizing Web Experiences with Augmented Reality Using React
Augmented Reality (AR) has emerged as a powerful technology, transforming how we interact with digital content. From gaming to education, AR has found its way into numerous fields, enhancing user experiences in unprecedented ways. With the advent of Web AR, this groundbreaking technology is now accessible directly through web browsers, opening up a world of possibilities for developers and users alike.
In this article, we'll delve into the realm of Web AR and demonstrate how to leverage the popular JavaScript library React to create immersive AR experiences right in the browser. By the end, you'll have a fundamental understanding of building Web AR applications using React, empowering you to craft captivating experiences for your users.
What is Web AR?
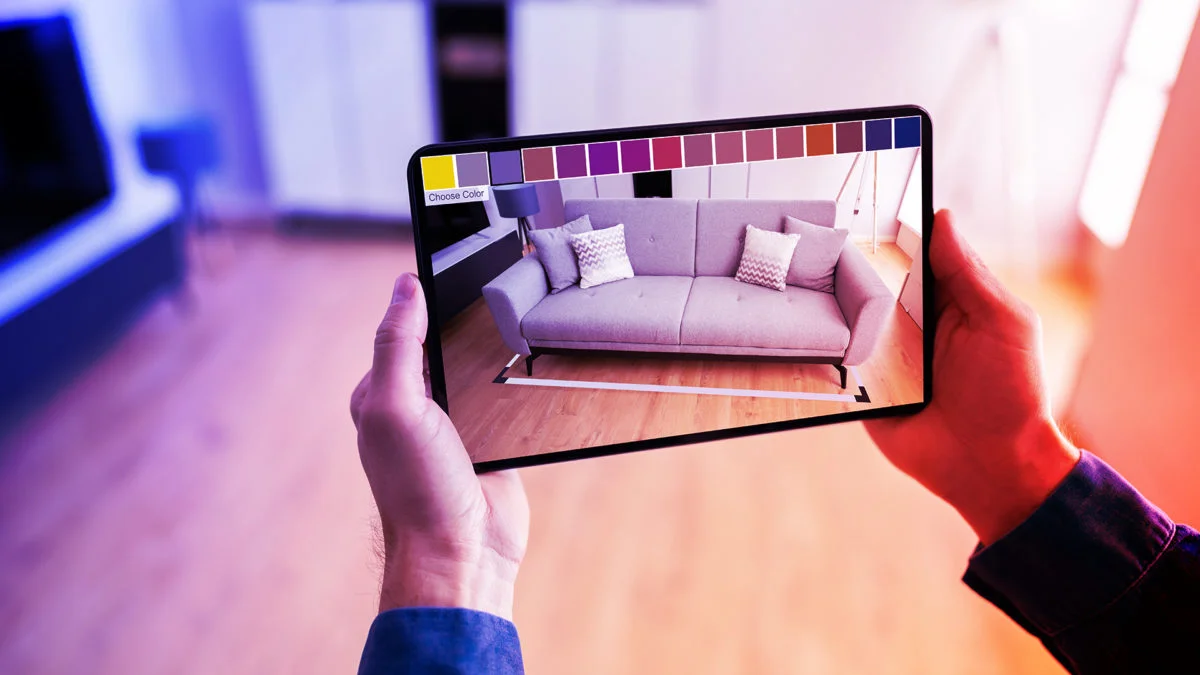
Web AR enables users to experience augmented reality directly within their web browsers, eliminating the need for standalone applications or downloads. Leveraging technologies like WebXR, Three.js, and WebGL, Web AR enables developers to overlay digital content onto the real world seamlessly.
One of the key advantages of Web AR is its accessibility. Users can simply visit a website on their desktop or mobile device, grant camera permissions, and instantly engage with AR experiences without any additional installations. This accessibility lowers barriers to entry and expands the reach of AR applications to a broader audience.
Getting Started with React and Web AR
To demonstrate the capabilities of Web AR, we'll use React, a popular JavaScript library for building user interfaces. Additionally, we'll utilize libraries like Three.js and AR.js to create and render 3D content in the AR environment.
First, let's set up a new React project:
npx create-react-app web-ar-react
cd web-ar-react
Next, install necessary dependencies:
npm install three ar.js
Building a Simple Web AR Application
We'll start by creating a basic AR scene that displays a 3D model overlaid onto the real world. In your src directory, create a new component called ARScene.js:
import React, { useRef, useEffect } from 'react';
import * as THREE from 'three';
import { ARjs as arjs } from 'three/examples/jsm/artoolkit/three.artoolkit.js';

const ARScene = () => {
  const arToolkitSource = useRef(null);
  const arToolkitContext = useRef(null);

  useEffect(() => {
    const scene = new THREE.Scene();
    const camera = new THREE.Camera();
    const renderer = new THREE.WebGLRenderer({
      antialias: true,
      alpha: true
    });

    arToolkitSource.current = new arjs.Source({
      sourceType: 'webcam'
    });

    arToolkitContext.current = new arjs.Context({
      cameraParametersUrl: 'data/camera_para.dat',
      detectionMode: 'mono'
    });

    arToolkitContext.current.init(() => {
      camera.projectionMatrix.copy(arToolkitContext.current.getProjectionMatrix());
    });

    const markerRoot = new THREE.Group();
    scene.add(markerRoot);

    const markerControls = new arjs.MarkerControls(arToolkitContext.current, markerRoot, {
      type: 'pattern',
      patternUrl: 'data/pattern-marker.patt'
    });

    const ambientLight = new THREE.AmbientLight(0xcccccc, 0.5);
    scene.add(ambientLight);

    const directionalLight = new THREE.DirectionalLight(0xffffff, 0.5);
    directionalLight.position.set(1, 1, 0);
    scene.add(directionalLight);

    const animate = () => {
      renderer.setSize(window.innerWidth, window.innerHeight);
      renderer.domElement.style.position = 'absolute';
      renderer.domElement.style.top = 0;
      renderer.domElement.style.left = 0;

      arToolkitSource.current.domElement.style.position = 'absolute';
      arToolkitSource.current.domElement.style.top = 0;
      arToolkitSource.current.domElement.style.left = 0;

      renderer.render(scene, camera);
      requestAnimationFrame(animate);
    };

    document.body.appendChild(renderer.domElement);
    document.body.appendChild(arToolkitSource.current.domElement);

    animate();

    return () => {
      arToolkitSource.current.domElement.remove();
      renderer.domElement.remove();
    };
  }, []);

  return null;
};

export default ARScene;
This component sets up a basic AR scene using Three.js and AR.js. It initializes the AR context, sets up the camera, and adds lighting to the scene. The marker controls are configured to detect a specific pattern marker.
Integrating ARScene Component
Now, let's integrate the ARScene component into our main App component:
import React from 'react';
import ARScene from './ARScene';

function App() {
  return (
    <div className="App">
      <h1>Web AR with React</h1>
      <ARScene />
    </div>
  );
}

export default App;
Testing the Application
Before testing the application, make sure you have a pattern marker image and the camera parameters file in the public/data directory. You can find these files in the AR.js GitHub repository.
Now, start the development server:
npm start
Visit http://localhost:3000 in your web browser, and you should see the AR scene overlaid on the camera feed. Hold up the pattern marker in front of your camera, and the 3D content should appear aligned with the marker.
Conclusion
In this article, we've explored the exciting world of Web AR and demonstrated how to create immersive AR experiences using React. By leveraging libraries like Three.js and AR.js, developers can build compelling AR applications directly within web browsers, making AR more accessible and engaging for users across various devices.
With Web AR, the possibilities are endless. Whether it's enhancing e-commerce experiences, gamifying education, or augmenting real-world navigation, Web AR opens up new avenues for innovation and creativity in web development. So, dive in, experiment, and discover the transformative potential of Web AR in shaping the future of digital experiences.
1.4k views
